

PECS Basic Principles
In this section, you will read a summary of the different phases of PECS. In the next sections, you will get details about how to teach each phase.
Phase 1: The Child Requests By Handing A Picture
In Phase 1, the goal is to teach the child to initiate a request by handing a picture to an adult. We’ll call this adult the “communication partner”. In this phase, the communication partner is already paying attention to the child and is standing or sitting right in front of the child. That way, the teacher or parent is easy to see, and the child doesn’t have to look for him or her.
Phase 2: More Rewards and Pictures-Child Finds the Picture and the Adult from Farther Away
Phase 2 is nearly the same as Phase 1 except that now you’ll use more rewards and pictures. Also, the child must find both the picture and the communication partner from further away.
Phase 3: The Child Makes A Choice Between Two or More Pictures
Phase 3 involves teaching the child to make choices between two or more pictures. For example, the child will learn that when a picture of an apple and a cookie are both held up, he has to choose the right picture to get the snack he wants.
In the next clip, the child is learning to make a choice between a ball, which he likes, and a measuring cup, which he does not want.
used with permission from Andy Bondy
You will learn to teach these three phases one at a time. We’ll break down each phase into a series of steps, as when we talked about how to teach pointing to request.
One nice thing about using a specific picture to request something is that he can make the request even if the thing he wants is not in sight. This goes beyond pointing to ask for things. After all, the child must be able to see something in order to point to it.
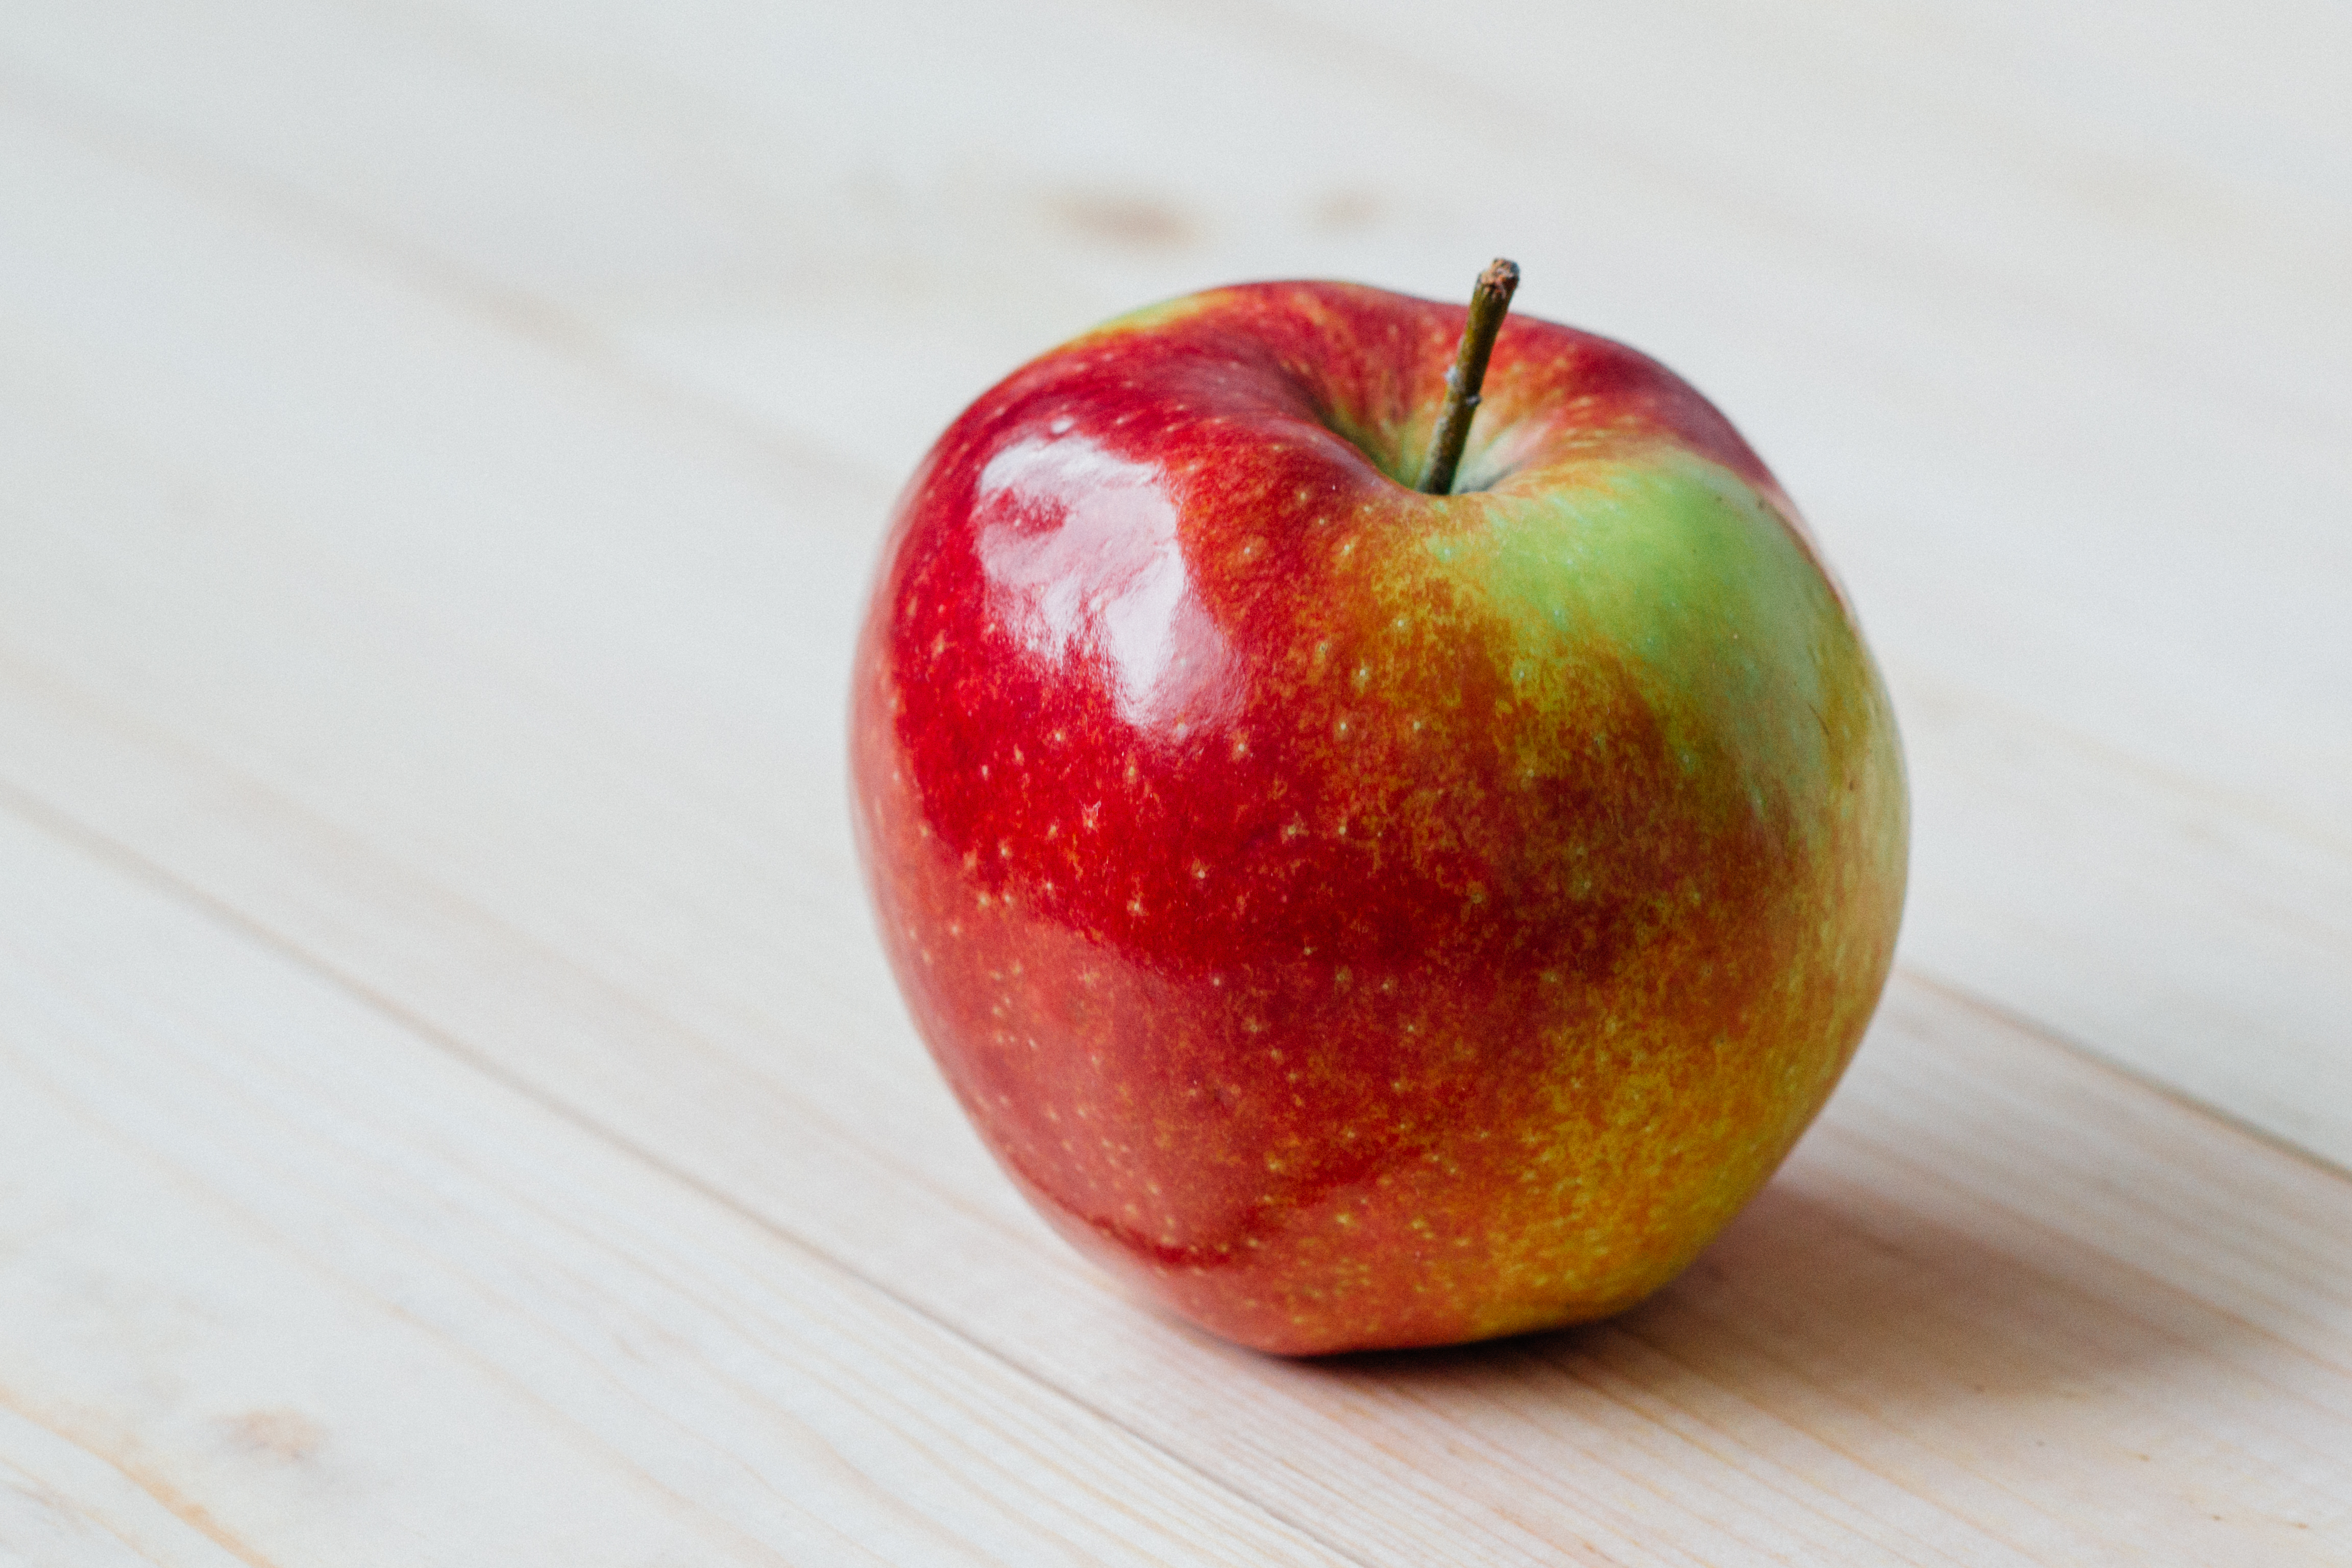
Imagine that the child wants an apple. If the apple is sitting on the table, he can point to it. But what if the apple is not where the child can see it? If the child has learned to give you a picture of an apple to request one, even a child who cannot speak can make his requests clear. Then he is less likely to be frustrated.

Used with permission from publicdomainpibtures.net
On the other hand, you probably won’t have pictures available for everything your child might want. It would be difficult to have pictures for all of the things your child might see and become interested in. It’s best if your child can ask for what he wants and needs using both pointing and pictures. That way, there should be fewer situations that frustrate him. As we said before, although PECS is presented in this program after the module that includes pointing to request, PECS and pointing can be taught at the same time or in any order. It is up to you.
Skills Your Child Needs for PECS
While there are very few skills your child needs before you can begin to teach him PECS, there are a few things to know. First, PECS involves picking up a picture and placing it in another person’s hand. For this reason, you should find out whether or not your child is easily able to pick up a picture. Many children have difficulty picking up a small, flat picture from a flat surface. It’s best not to start with very small pictures, which may be harder to pick up. Ideally, the pictures you use should be roughly two inches by two inches. It is fine if the picture is even a little bit bigger than that. If you can cover the picture with clear contact paper, or if you can laminate it, that will help to preserve the picture.
If Your Child Has Difficulty Picking Up Pictures
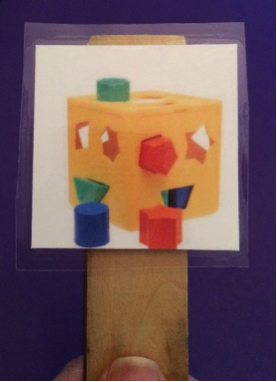
Some children have difficulty picking up very thin, flat items. If your child seems to have difficulty with this, try using a bigger picture. If this is still difficult, there are things you can do to make the picture easier for your child to handle. For example, you could glue the picture to a piece of cardboard, or even a small, flat piece of wood, a stick or a dowel. Here are some pictures that have been glued to a backing to make them easier for small hands to manage.

There are many ways to get the pictures you will need for PECS training. If you have a digital camera and a computer with a printer, then of course you can take them yourself. Or, you can take pictures with a regular camera if you have one, and get the pictures printed. If you have a computer, or if there’s one you can use, you can also find pictures on Google Images or other websites. Just type the name of the items for which you need pictures into the website’s search bar.
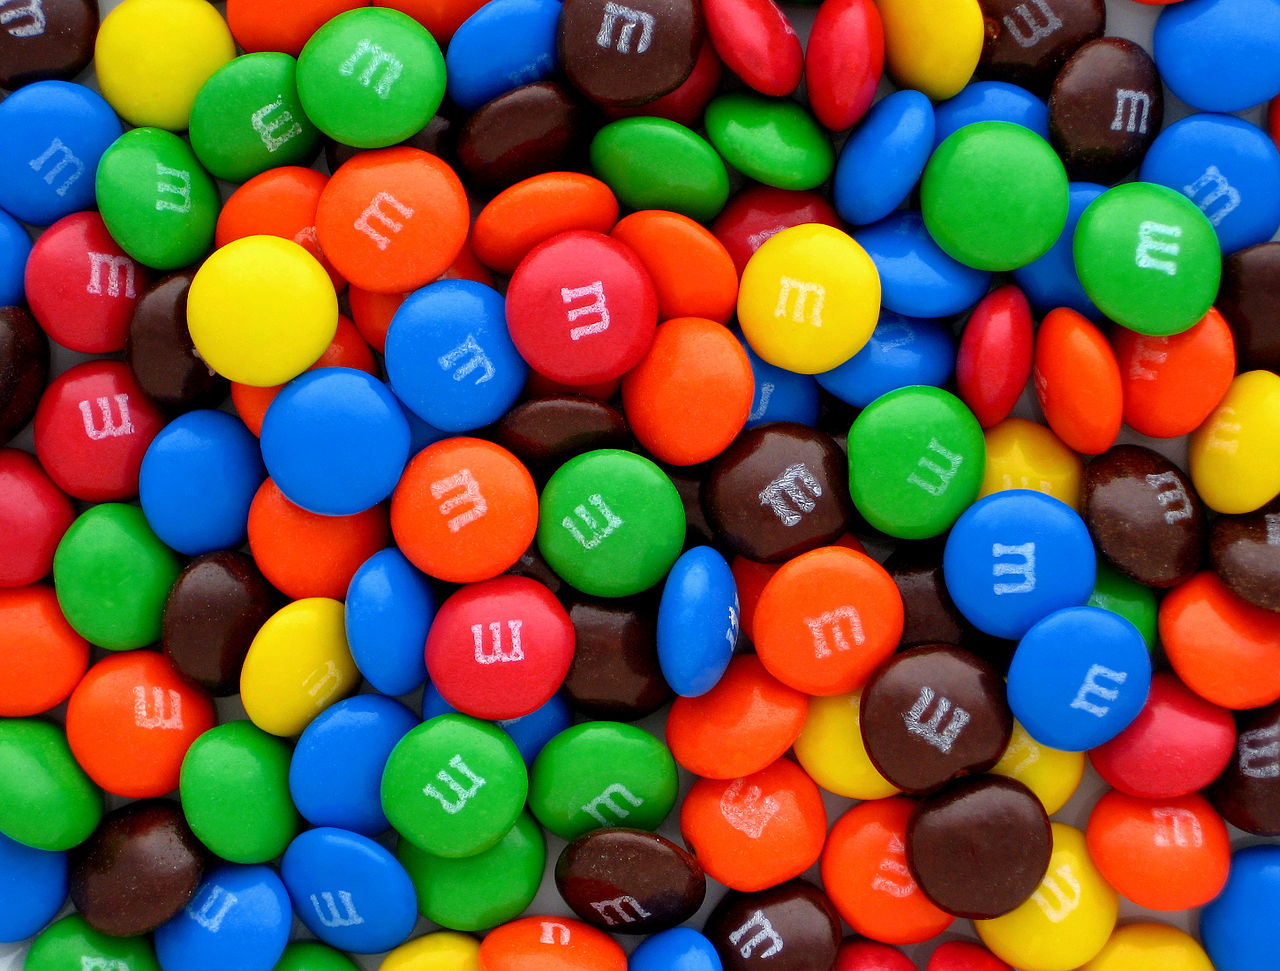
For example, if you type “M&M” into the search bar on the Google Images website you will find hundreds of pictures like this one.
You can do the same thing with Fruit Loops, a sweet, fruity cereal:

There are many websites you can visit to look for pictures. Here are some that you can use but there are many others:
http://www.freedigitalphotos.net
One advantage of using a computer to make your pictures for PECS is that you can make them any size you want. You can also store them in your computer and print out additional copies. And you can make different sizes of the same picture as you need them. A good size to begin with is roughly a two-inch square. But this doesn’t have to be exact, and you can experiment with the size that works best for your child.
If You Do Not Have A Computer
If you do not have a computer, one way to get pictures is to look through the coupon section of the newspaper. You can also look through magazine advertisements to find pictures. Circulars or sales flyers that are offered by your local market work well too. These often contain very good images of the products they sell.
It’s usually pretty easy to find pictures of popular toys, games, foods and drinks. However, there will probably be at least a few things that are very special to your child for which it may be difficult to find ready-made pictures. In this case, you can take photographs of the actual items or even make a simple line drawing of the item. Basically, use what you have. Research suggests that children can learn to use PECS with simple pictures or line drawings. Even pictures that only represent the item in a general way can work as well as pictures that resemble the item very closely.
In any case, once you find the pictures of the items you are looking for it is always best to put a plastic coating on them to make them stronger and more durable. If you have access to a laminating machine you are lucky! Most people just use clear contact paper, or do-it-yourself laminating paper.
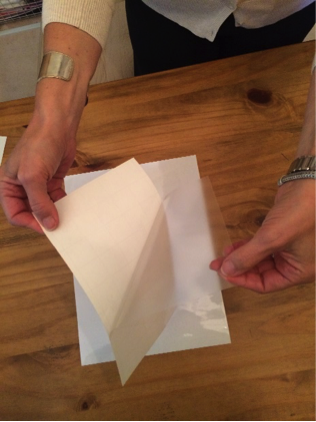
To cover a picture with contact paper or self-laminating paper, you simply cut two pieces of the sticky paper (one brand is called SelfSeal) to the size you need. Then separate the sticky side of the sheets from the backing.
Place the pictures you want to laminate on the sticky side of one of the sheets.
 Then, cover the pictures with the other sheet, sticky side down.

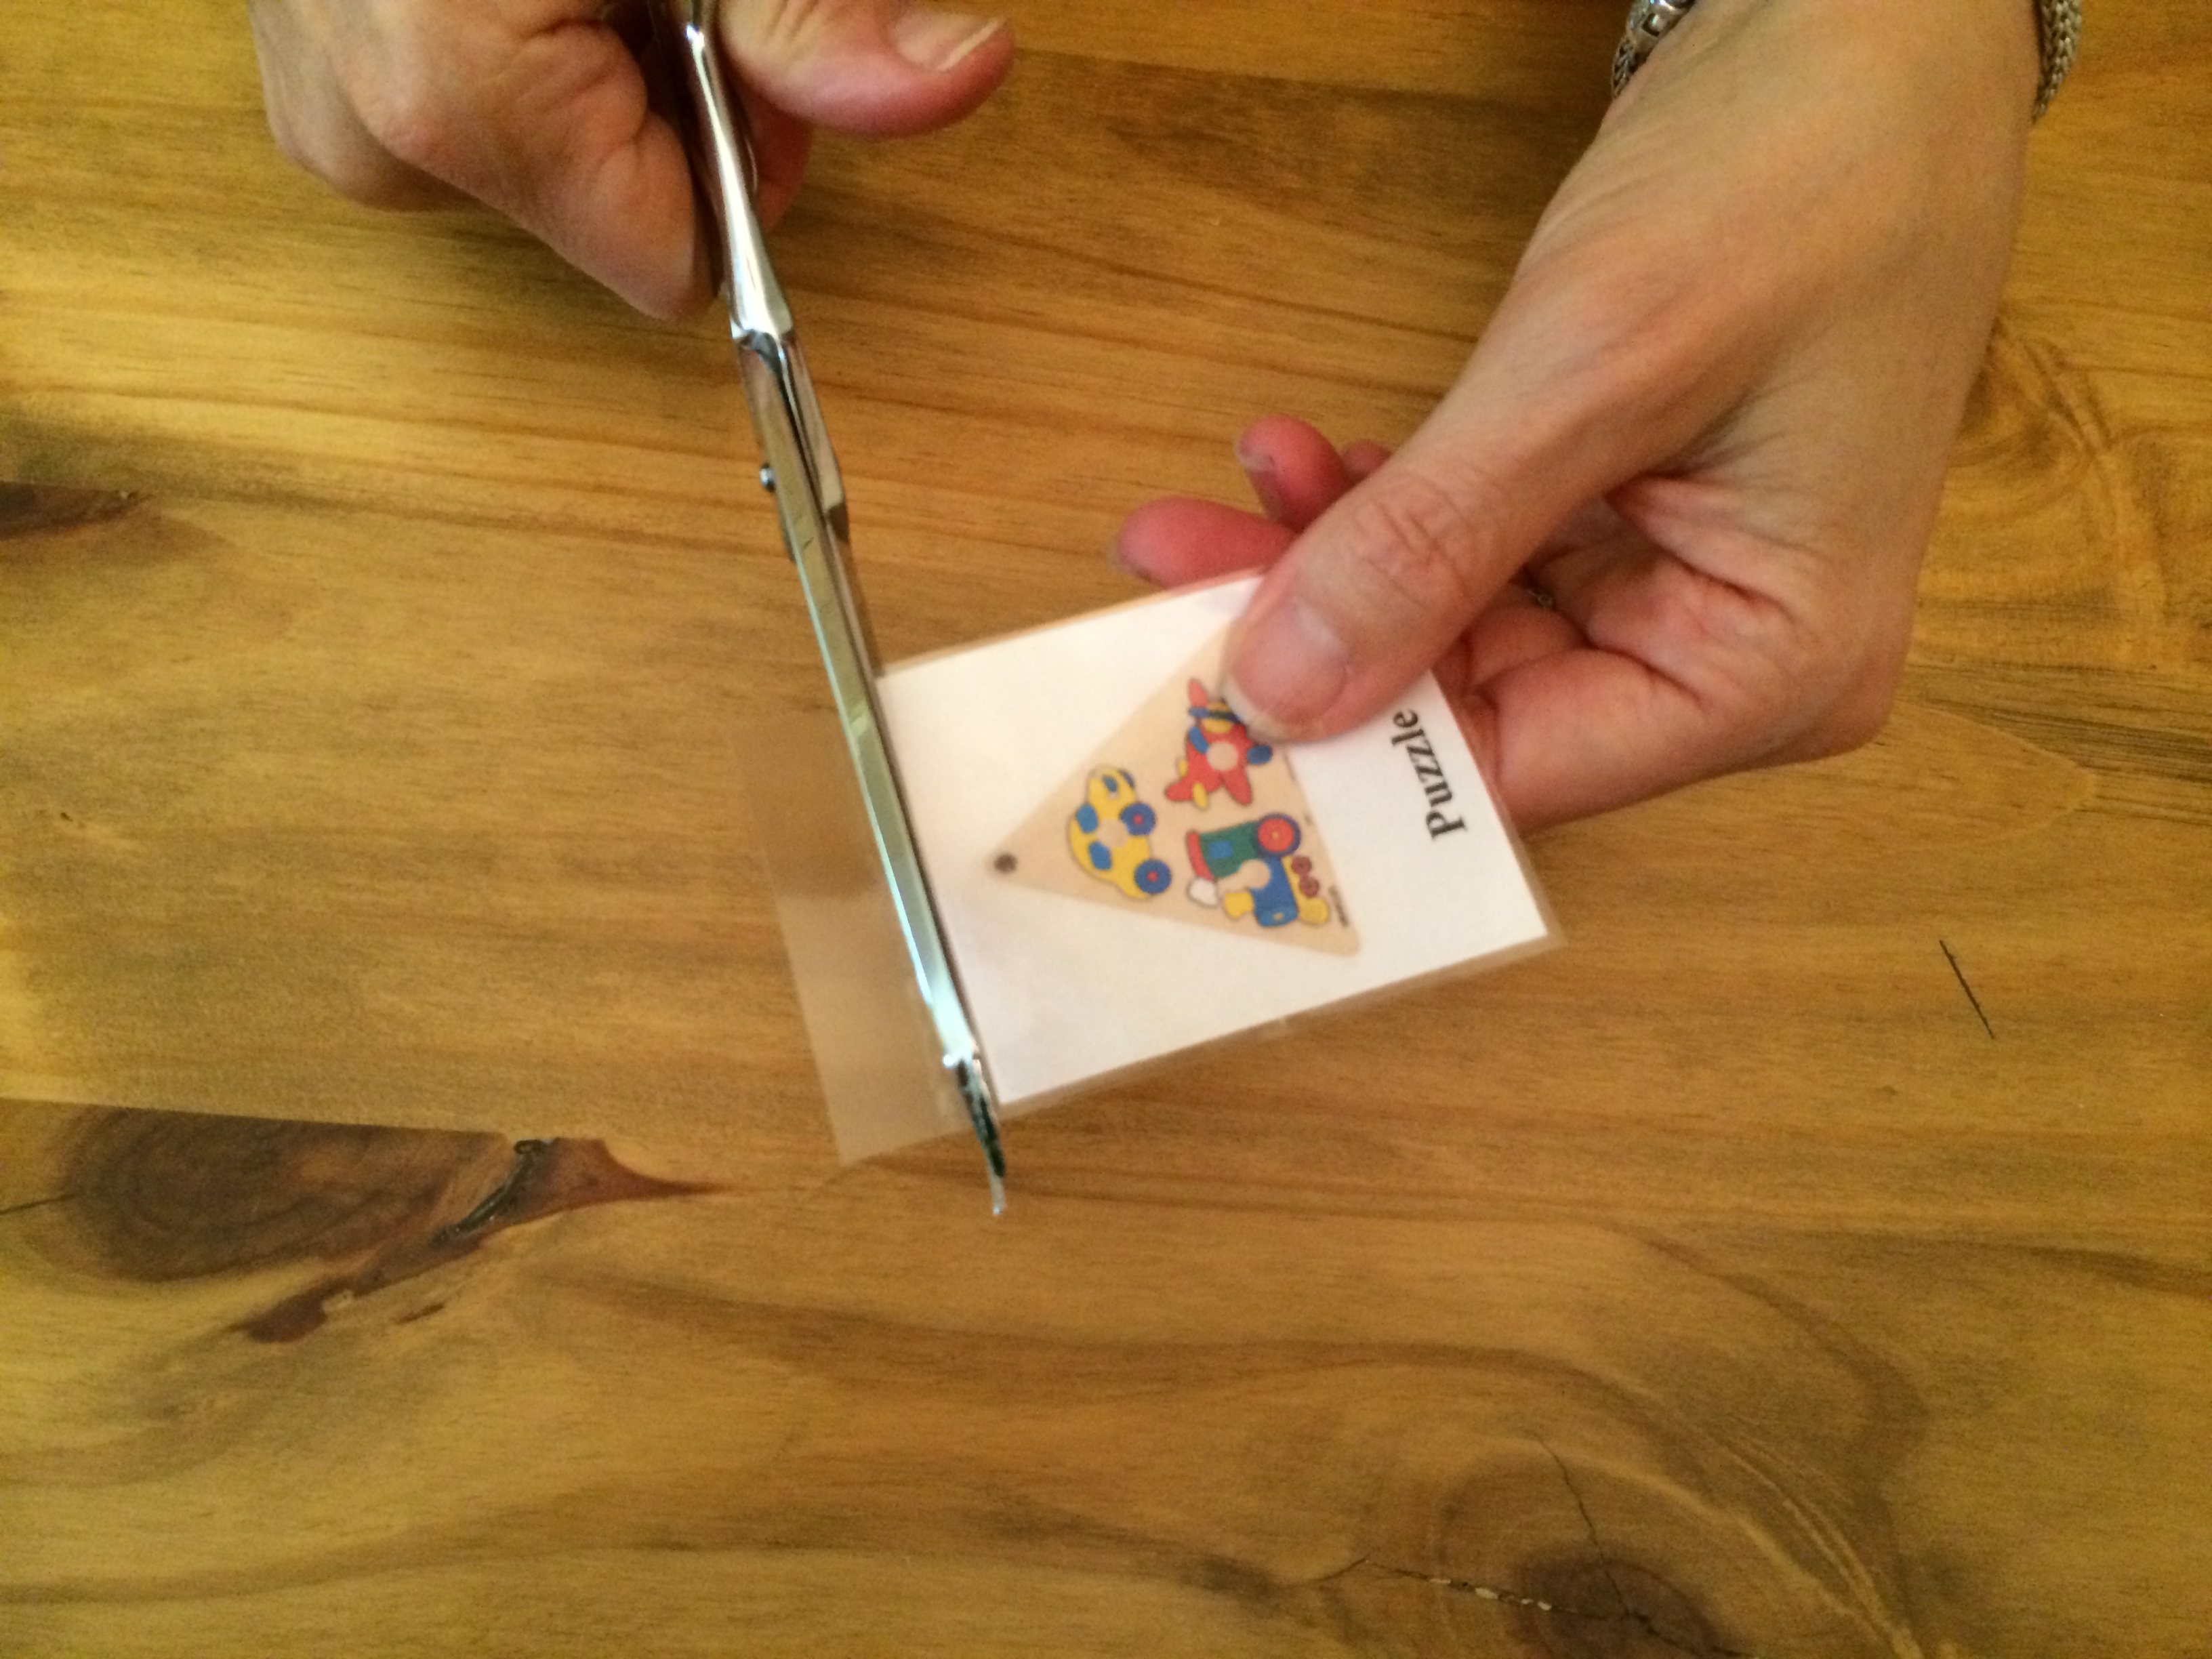
Cut out and trim the individual pictures with scissors, making sure to leave a little edge of the clear plastic around each picture.
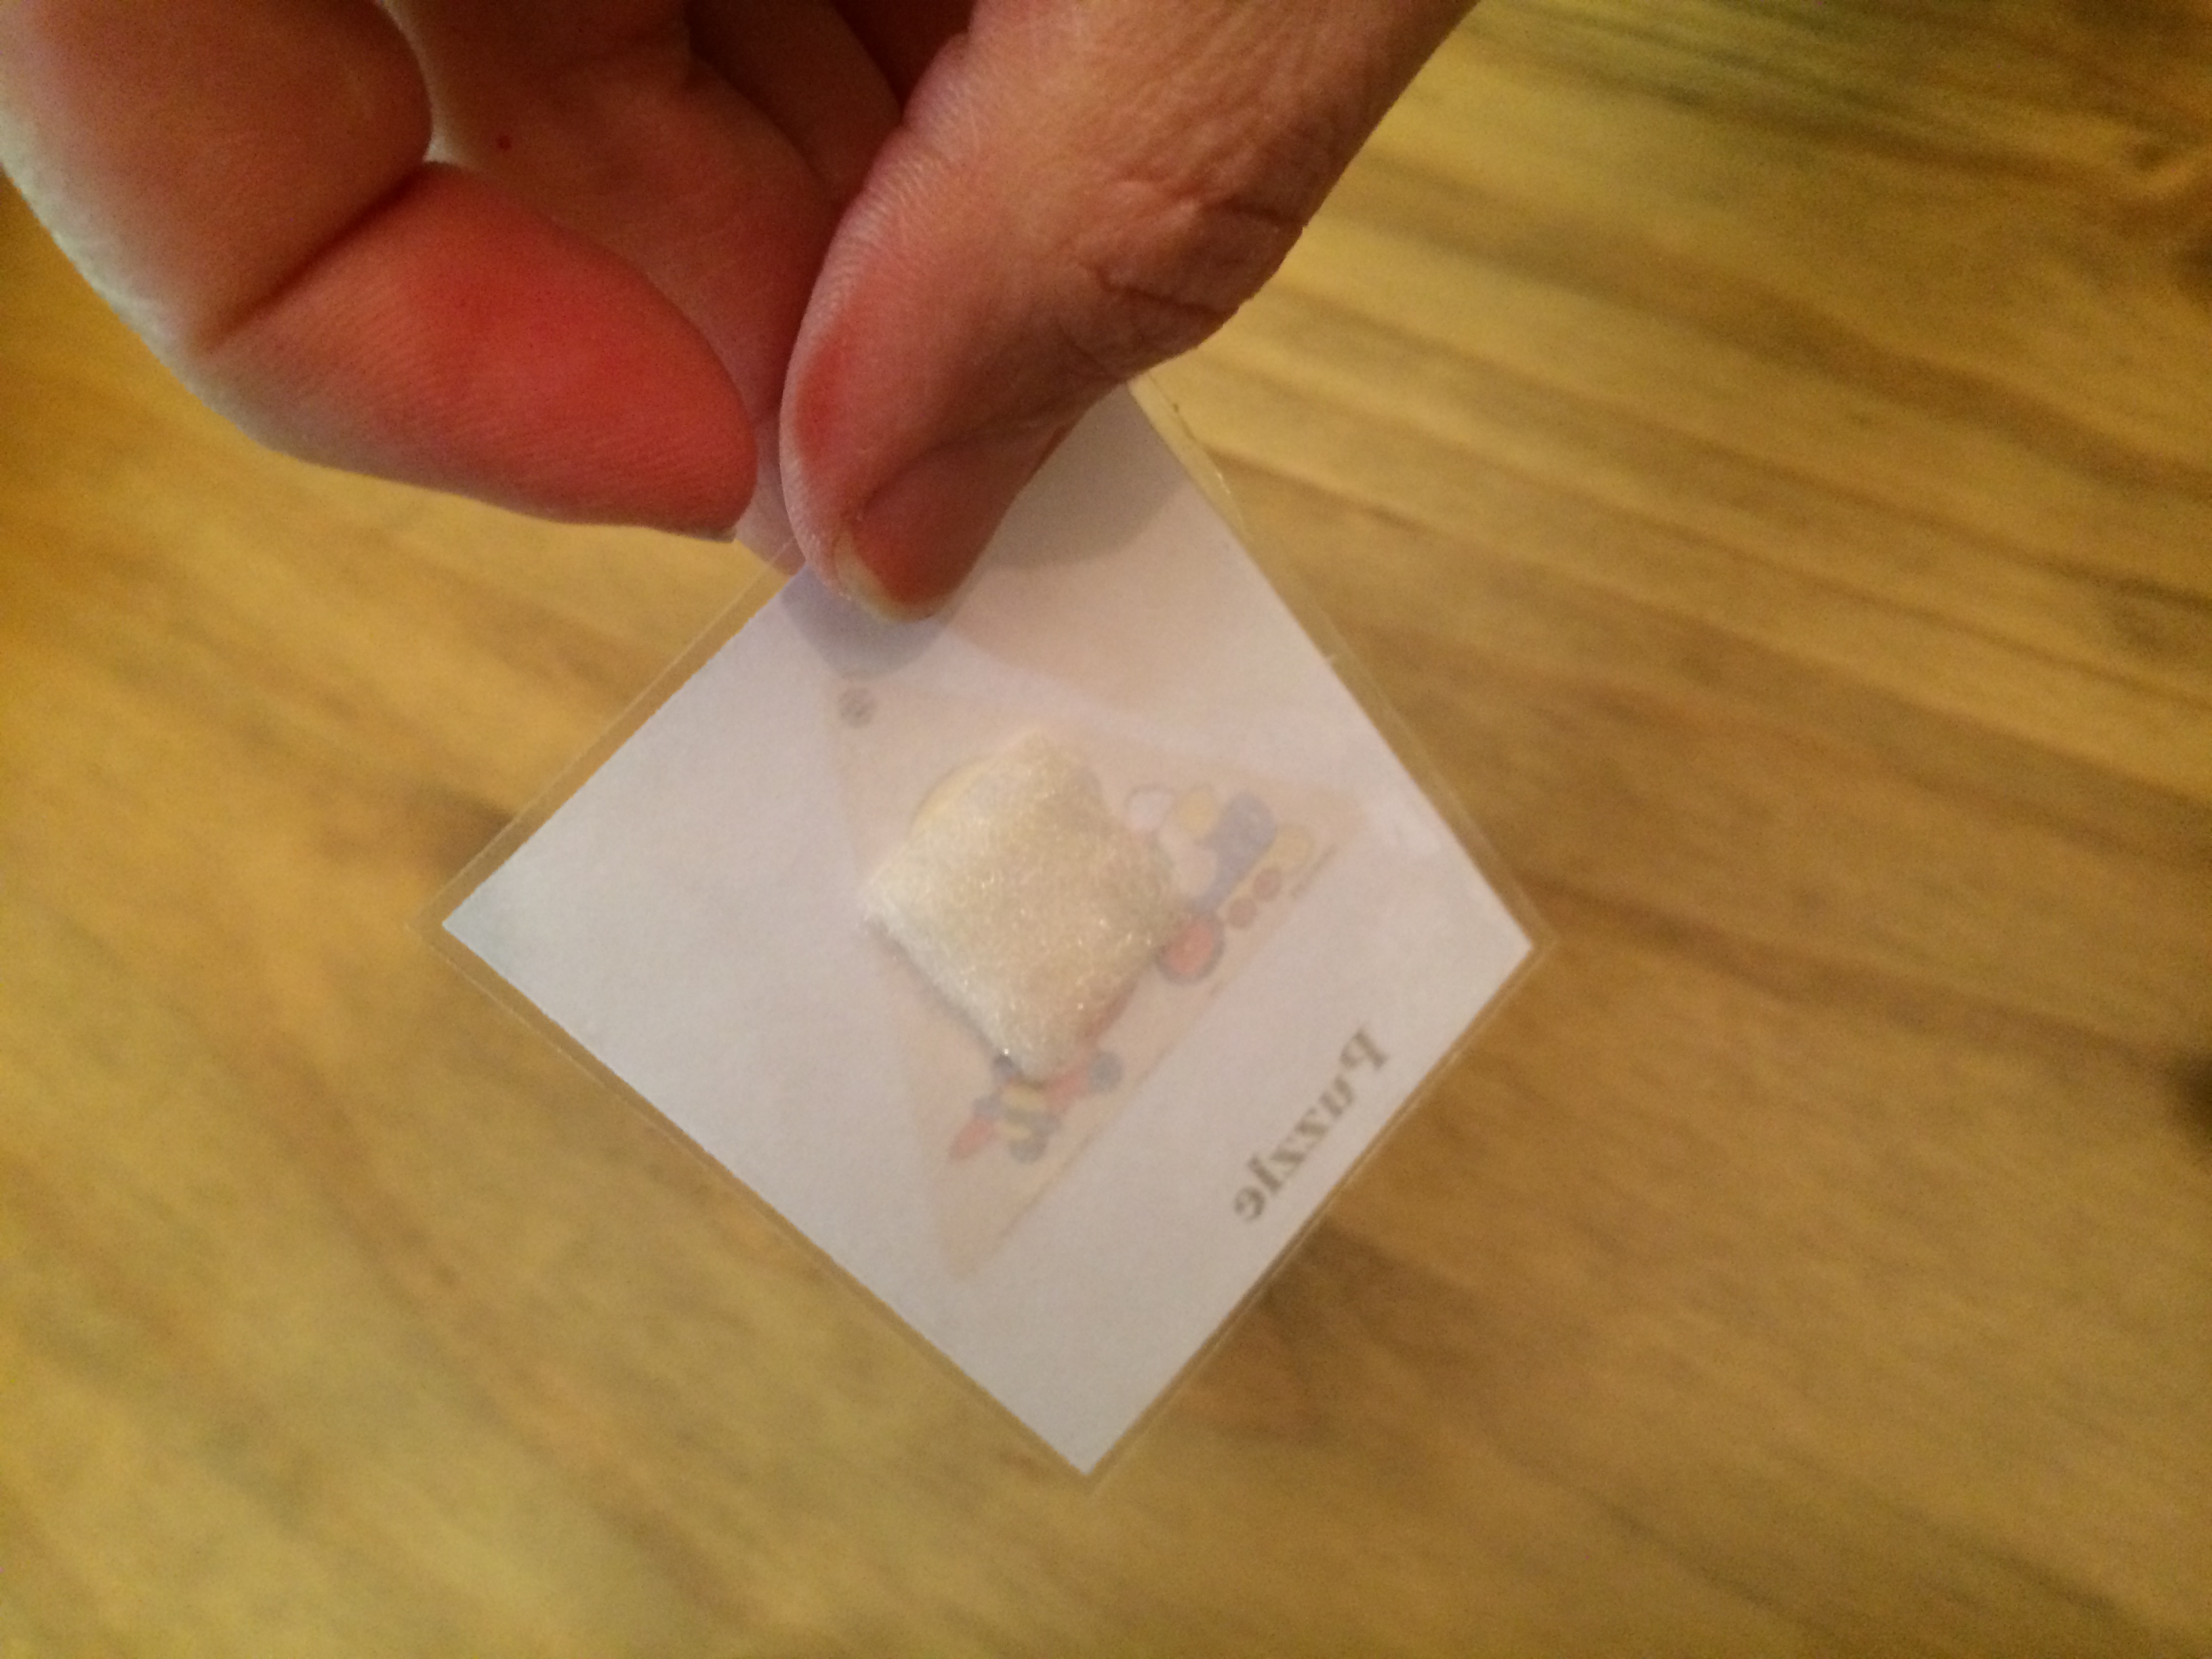
Cut small pieces of the softer side of your Velcro and stick them to the backs of each picture.
It’s a really good idea to make extra copies of each picture. No matter how careful you are with your pictures, some are bound to get lost. You’ll be happy to have extras on hand when you need them!
The only other thing that you need to do before beginning to teach PECS is to watch your child carefully to see what he likes most. This is the same as when we talked about teaching your child how to make requests using pointing. We can’t expect a child to initiate a request or try very hard to get something, unless there is something available that he really likes a lot. We want to be sure to have a few things that he almost always reaches for when they’re available to him. As always, while it’s a good idea to have a favorite food or drink treat, we also want to make sure we can find a treat or two that is not
something to eat or drink. Things like  a wind-up toy, a bouncy ball, or bubbles work well. This is because we want to teach the child, from the beginning, that he can use pictures to request many things. We don’t want him to learn to use PECS to request only food or drink. When first teaching PECS, it will be easiest to begin with treats or toys that you can quickly and easily hand to your child or use immediately, like a piece of candy or bubbles. Later you’ll be able to add other kinds of rewards, like a few minutes of a cartoon or being pushed on a swing.
We’ve already talked a lot about how to choose reinforcers or rewards and how to use them to motivate behavior. Let’s review some of these ideas briefly.
HOW TO CHOOSE REWARDS:
Watch your child carefully to see what he likes to do when he’s free to do anything. If he spends a lot of time playing with balls or cars, for example, then balls or cars may be good rewards.
|
How To Get The Most Out of The Rewards You’ve Selected
Limit the availability of the things you have chosen as rewards
Is there a special treat that your child likes a lot, but doesn’t need for nutrition? That could be something like a cookie or a potato chip. Save that treat to use only as a reward. If you use that treat only during learning times, then the treat will work better as a reinforcer. There are a lot of small food rewards that many children like. For example, you can use small pieces of pretzels, small crackers, raisins, cereal, or small pieces of candy, like M&M’s. What if you had a bowl of M&M’s on a table and the child could take some whenever he wanted to? Then they wouldn’t be very special. And he wouldn’t be very interested in learning to ask for them by pointing or using PECS. Save those special treats so they work as powerful reinforcers.
Offer rewards in small amounts
Don’t use large amounts of your rewards. In fact, if you use the rewards in very small amounts, your child will stay interested longer. We often get tired of the things we get easily or in large amounts. For example, you wouldn’t want to give your child a whole cookie for each practice trial. Instead, try breaking the cookie into small pieces so that you can get at least 5 or 6 learning trials out of every cookie. Try to look for ways to make the rewards small while still being rewarding. For example, if your child likes M&M’s, use the mini-M&M’s. You can find these in the baking section of the market. Or if you are using bubbles, blow only one or two streams of bubbles before you want your child to ask for more. Wind-up toys are good, because they work for only a short time before they need to be wound up again. If your child likes to draw, you can offer only one marker or crayon at a time. If he likes to make shapes using cookie cutters and Play-Doh, you can try only one cookie cutter at a time, or “take turns” with his favorite one.
Be sure to have at least a few different types of rewards during each PECS training session
Change the rewards you use within each PECS learning session. That way your child will be less likely to become tired or bored with the rewards. For example, you might use a salty treat at the beginning of the learning session. Then you might use sips of juice later. You could use a small toy to play with briefly and then switch to a small piece of a sweet treat. Now we’ll describe the 3 phases of PECS training in more detail.